
Hello and welcome to my blog. Today I combined two of my favourite things for the festive season - box cards and the Signs of Santa Stamp Set from Stampin' Up!
I was aiming to make a bright colourful Christmas box card which fits in a standard A6 envelope (for cheaper postage) and this one definitely ticks all the boxes.
The box itself is a standard pattern - you could probably find a million templates online - but here are the specifications for this project.
Start with a piece of Lovely Lipstick cardstock cut to 5 3/4 inches x 8 1/2 inches (this is half an A4 sheet for convenience). Score lengthways in half and at 2 inches, 4 inches, 6 inches and 8 inches in the opposite direction

Cut to centre on each vertical score line and removed the smallest flap as below. This makes a tab for gluing.

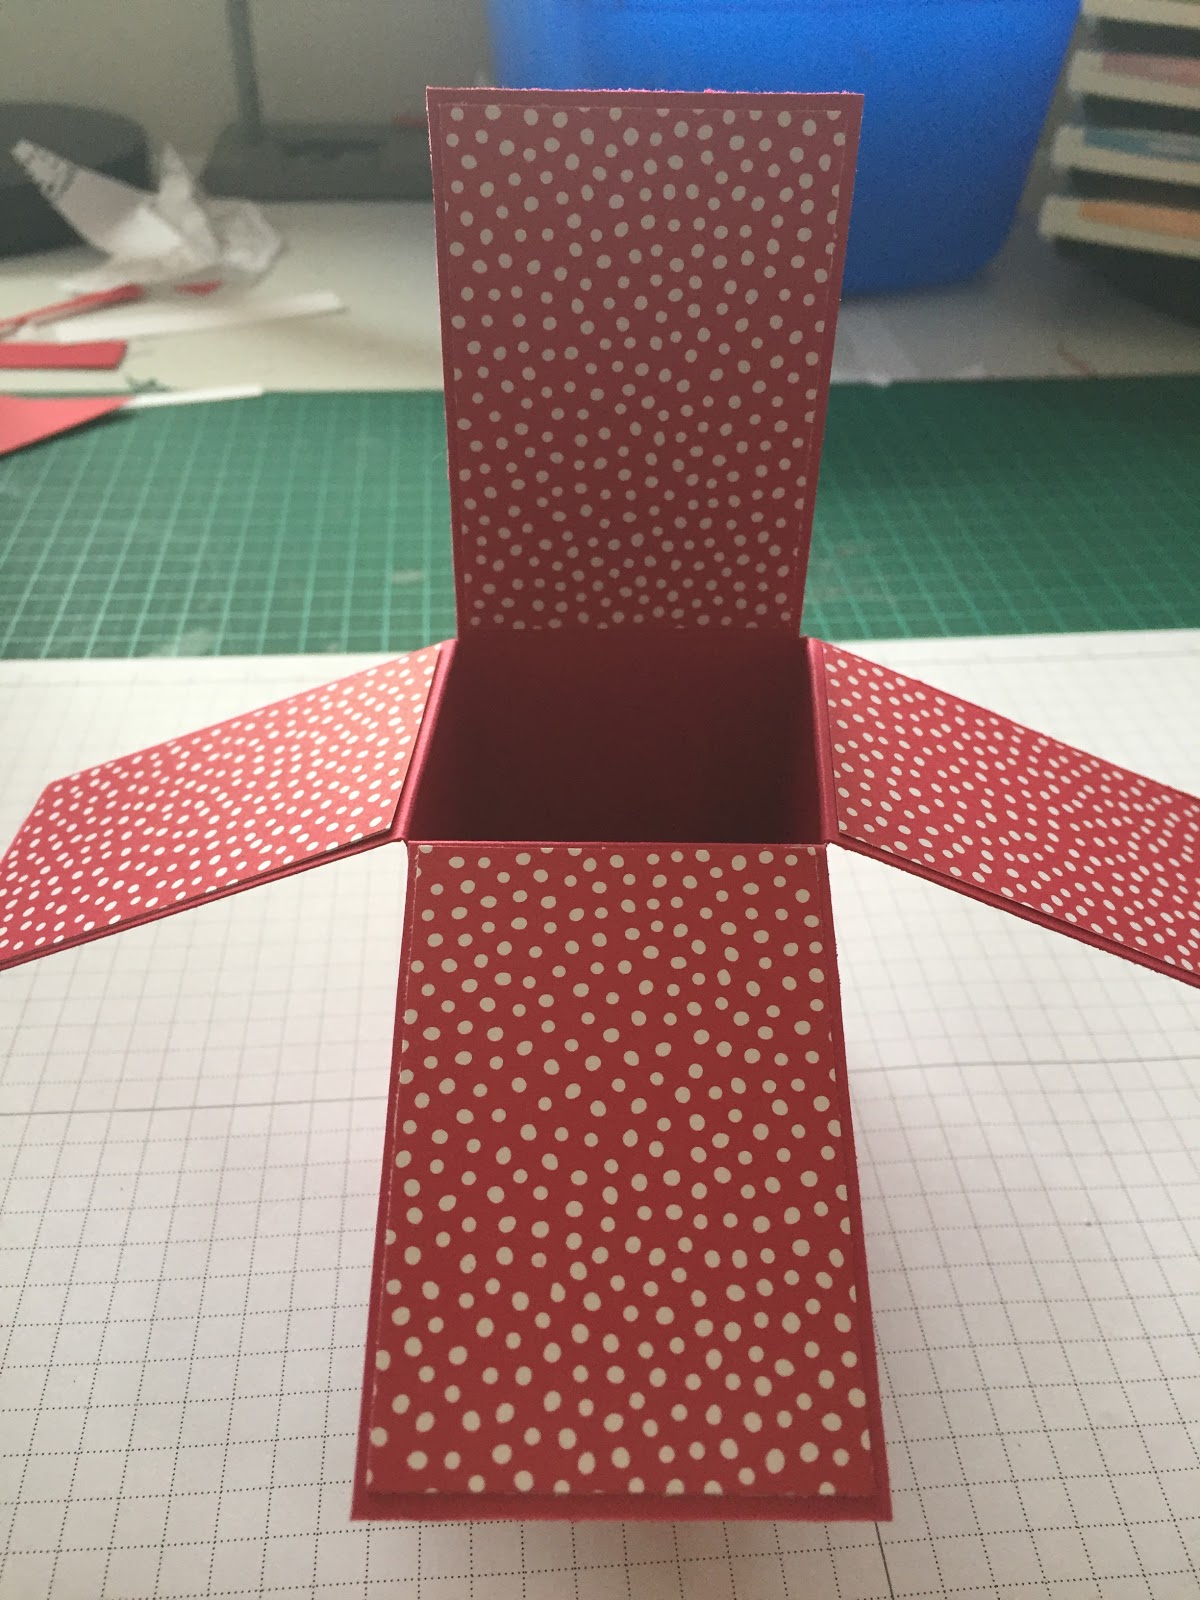
Construct card by gluing tab to opposite end and folding down 3 of the four flaps.


Cut 4 pieces of spotted Lovely Lipstick paper from the "In Colour 2018 2020 6" X 6" Designer Series Paper" pack to 1 7/8 inches x 2 3/4 inches and glue to the flaps as shown.

Glue these panels to the front, side and back tabs of your card. Your card is taking shape!
Using Whisper White cardstock stamp, colour and cut out Santa, Mrs Claus, two cheeky elves, the sign post, presents and trolley from the stamp set. Also stamp and cut out two of the North Pole seals using a scrap of Lovely Lipstick cardstock.

I have coloured my figures using my trusty Stampin' Blends in Shaded Spruce, Poppy Parade, Daffodil Delight and Ivory but you can use your favourite colouring tools and let your imagination go wild. If you have access to a Big Shot and the matching dies for this stamp set also cut out two small and two medium snow flakes from a sheet of silver foil.


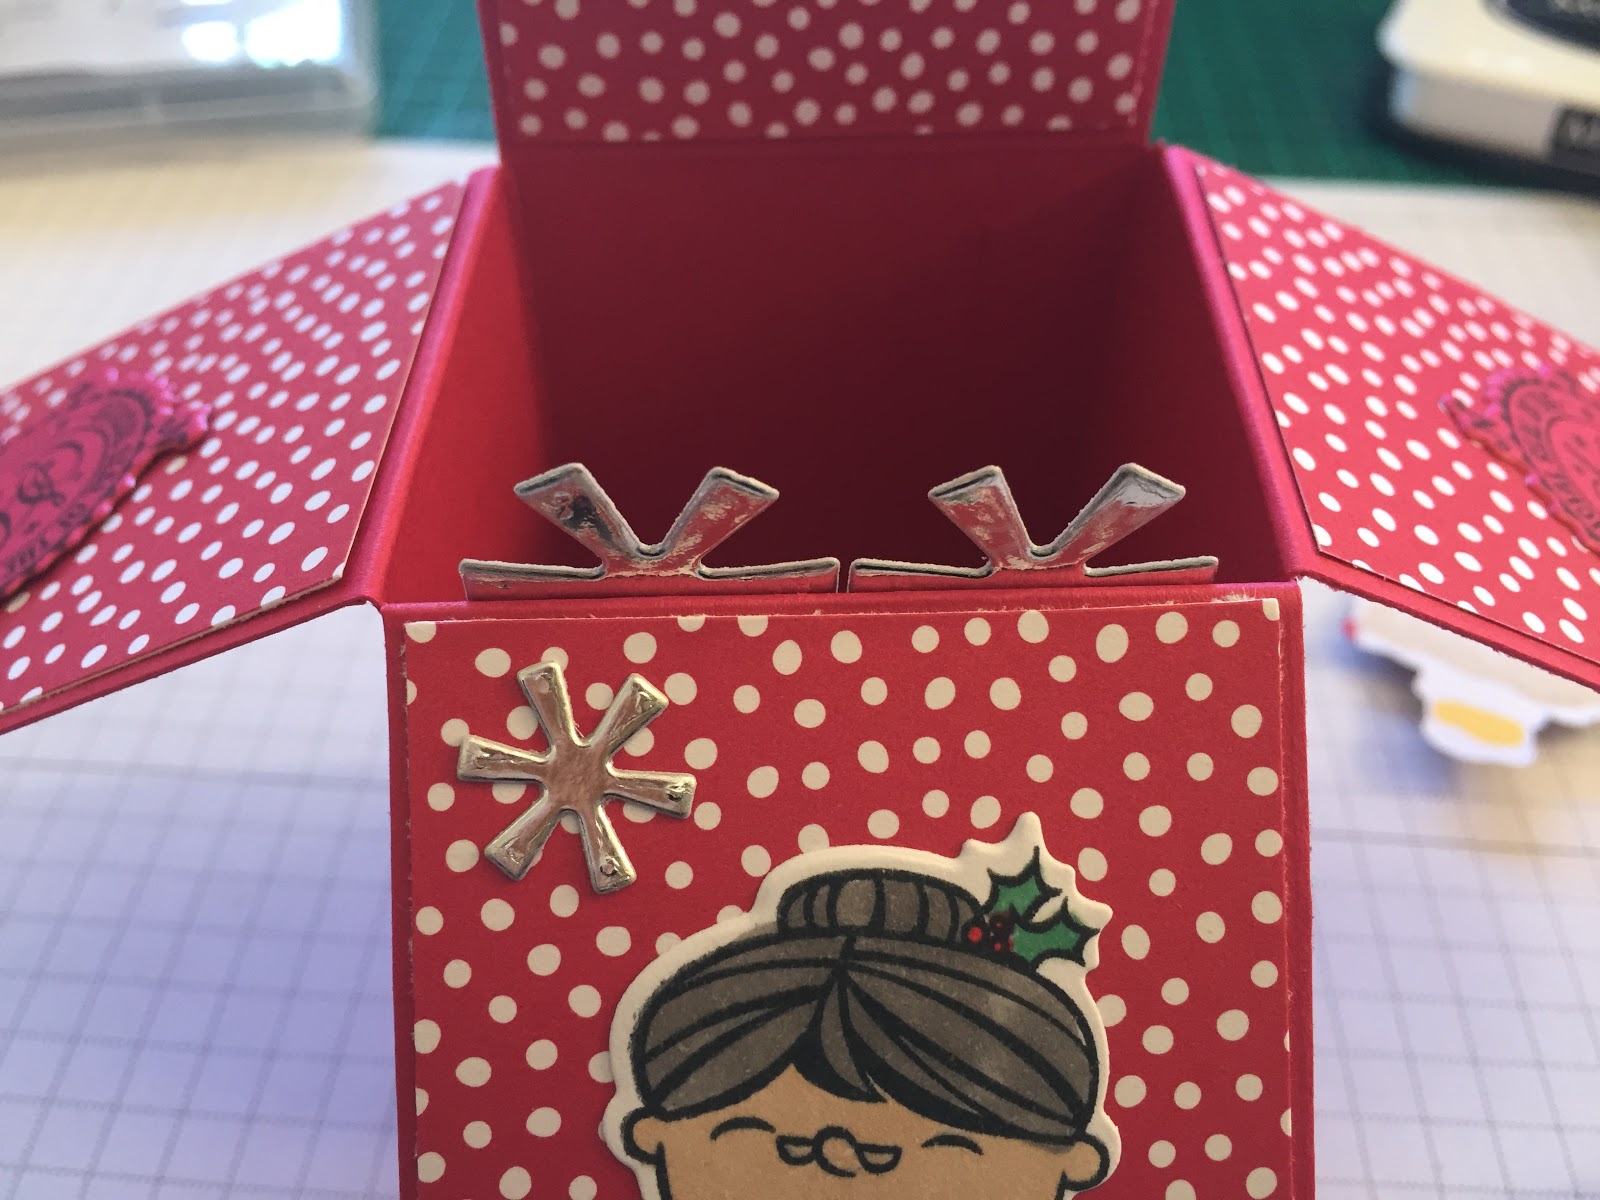
Attach Mrs Claus front flap and add a small star if you have one. Also attach the North Pole seals to the side flaps.

To mount the elves, sign post and present trolly, cut two pieces of Lovely Lipstick card stock 2 inches x 3 inches and score at 1/2 inch and 2 1/2 inches to create square C-shape brackets.

Glue the present stack to the back of the trolley so they appear to sit inside it. Attach the "walking" elf and the trolley to one bracket to it appears that the elf is pulling the trolley along. I use small strips of clear acetate to glue my figures in position as shown.


Repeat this with the remaining elf and North Pole sign post.


Glue Santa and another small snowflake to the back panel.

Attach the two medium snowflake to the front edge of the box. This adds some interest and depth to the design.
Attach the decorated brackets inside your card with the elf/trolley at the front and elf/sign post at the back. You may want to mount the second bracket slightly higher so the elf can be seen.

I also add a strip of white cardstock to the back of all my box cards for personal messages. You can decorate this panel is desired.

This is a fun card, quick to make and easy to embellish and customise. I hope you enjoy making and giving it as much as I did.

For everything you need to make this card at home please go to my Stampin' Up Demonstrator Page
and to make sure you don't miss future blogs, please subscribe today.
Happy Crafting!
Comments
Post a Comment