Two cards using Bella and Friends Stamp Set
Today I am using the Bella and Friends Stamp Set to create two very different cards - one sweet and simple and the other slightly over the top.


To add colour I have used the fabulous SU Blends which, I have to say, are incredibly fun and easy to use and give great results.
Let’s start with the simple card (which if I’m honest is probably my favourite of the two).
Starting with a piece of Whisper White cardstock cut to 5 1/2 x 3 7/8 inches, stamp the cute image of Bella and her tortoise friend in black ink.


Using the Stampin’ Blends colour in Bella and the tortoise as desired.


Here I have used blended light and dark Crumb Cake for Bella with the white patch on her belly and muzzle blended using Colour Lifter and blended light and dark Old Olive for Mr Tortoise.

Then add colour to sky and grass. I have used light Pool Party and light Old Olive and again blend well with Colour Lifter. Once dry this gives a wonderful watercolour effect.

Cut a piece of black cardstock to 4 x 5 5/8 inches and a piece of Whisper White to 5 3/4 x 8 1/4 inches. Score and fold white cardstock in half to make a 5 3/4 x 4 1/8 base card.


My second example is a standard Z-fold card using most of the wonderful stamp images provided with Bella and Friends. The blending and colouring on this card are the same described above but the effect is quite different.
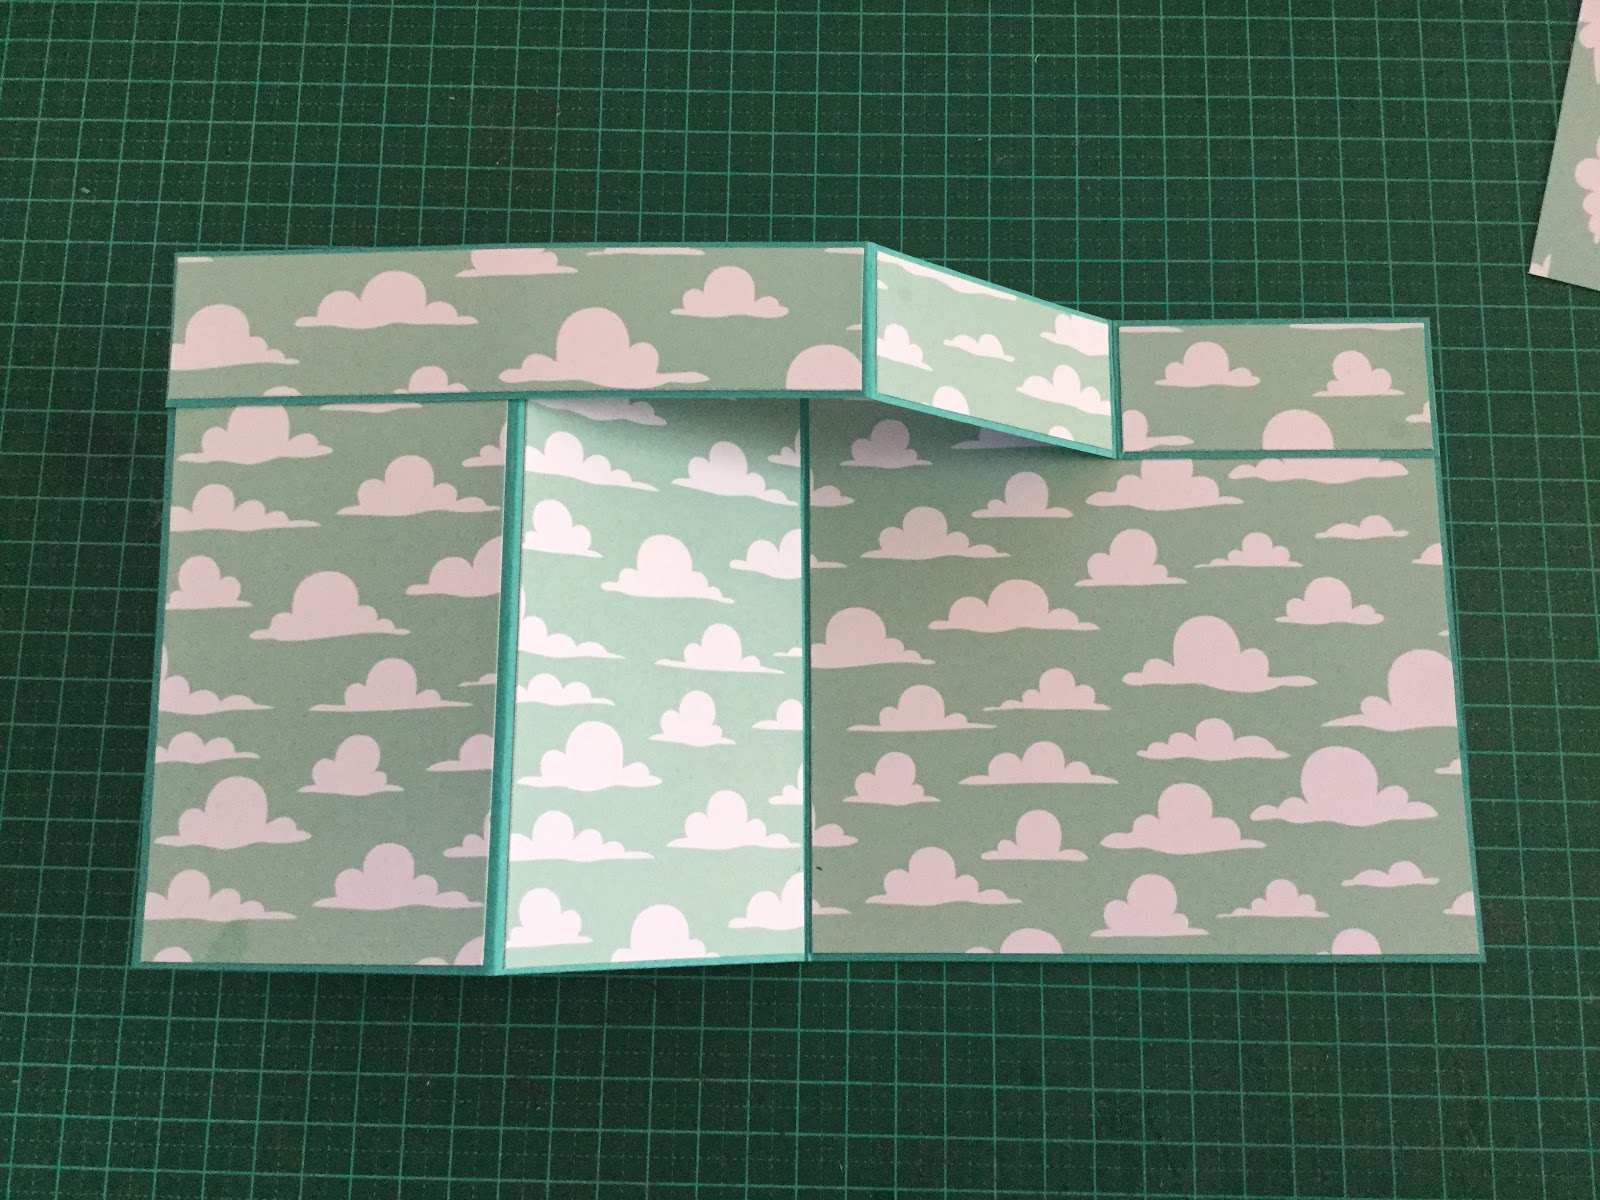
The card is constructed from a 2 pieces of Bermuda Bay cardstock. The first cut to 11 x 5 1/2 inches and another cut to 11 x 1 1/4 inches. Both are scored at 2 3/4 inches and 5 1/2 inches.

Here the panels are decorated with the cloud patterned paper from the Myths and Magic Designer Paper Series.
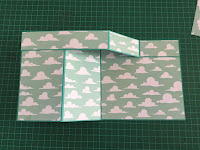
 Card is constructed as shown above and now the decorating fun begins.....
I have stamped, coloured and cut out the image of Bella floating with a balloon and suspended it from the top of the card using a cross piece.
Hints


Continue decorating as desired. I have added Bella's parrot friend coloured with SU Blends in body of card and Bella herself on layered ovals of Whisper White and Bermuda Bay on the front. all sentiments are also from the Stamp Set and are in black ink.


This wonderfully versatile z-fold card design can be used with many other SU stamp sets. Here is particular favourite of mine using Moon Baby.


Here I have used blended light and dark Crumb Cake for Bella with the white patch on her belly and muzzle blended using Colour Lifter and blended light and dark Old Olive for Mr Tortoise.


Adhere black cardstock to base card and add Bella on top. Stamp sentiment below picture and add other embellishments if desired.

The card is constructed from a 2 pieces of Bermuda Bay cardstock. The first cut to 11 x 5 1/2 inches and another cut to 11 x 1 1/4 inches. Both are scored at 2 3/4 inches and 5 1/2 inches.


I have stamped, coloured and cut out the image of Bella floating with a balloon and suspended it from the top of the card using a cross piece.
Hints
- use a piece of clear acetate to strengthen the balloon string.
- use liquid glue to attach cross piece, testing that card closes neatly before glue dries


For everything you need to make these beautiful designs at home, please visit mu SU page at
and to make sure you don't miss any of my future blogs, subscribe today!
Comments
Post a Comment